Page 63 - Atılım Devam Edecek GB
P. 63
By utilizing above-listed facilities of the MFCE, academicians and industrialist can:

            1.   Receive support as service procurement for TUBITAK science projects;
            2.   Receive support as service procurement for TEYDEB projects;
            3.   Receive support as service procurement for SANTEZ projects;
            4.   Receive support as service procurement for EU projects;
            5.   Give training to companies;
            6.   Manufacture prototypes for companies;
            7.   Make pre-mass production for companies;
            8.   Carry out finite element analysis and structural analysis;
            9.   Carry out metal forming, heat treatment-welding and  develop simulations for specific cases;
            10.  Make computer aided design (CAD) for companies.

            The Center prepares a plan and protocol covering intellectual property rights for the companies to
            cooperate with. Experimental studies are carried out under the supervision of MFCE experts.


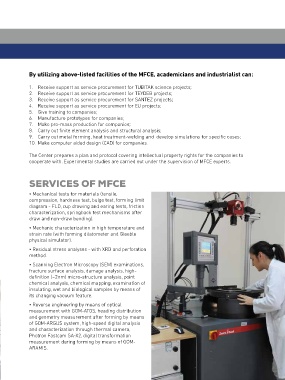
            SERVICES OF MFCE

            • Mechanical tests for materials (tensile,
            compression, hardness test, bulge test, forming limit
            diagram - FLD, cup drawing and earing tests, friction
            characterization, springback test mechanisms after
            draw and non-draw bending).
            • Mechanic characterization in high temperature and
            strain rate (with forming dilatometer and Gleeble
            physical simulator).
            • Residual stress analyses - with XRD and perforation
            method.
            • Scanning Electron Microscopy (SEM) examinations,
            fracture surface analysis, damage analysis, high-
            definition (~2nm) micro-structure analysis, point
            chemical analysis, chemical mapping, examination of
            insulating, wet and biological samples by means of
            its changing vacuum feature.
            • Reverse engineering by means of optical
            measurement with GOM-ATOS, heading distribution
            and geometry measurement after forming by means
            of GOM-ARGUS system, high-speed digital analysis
            and characterization through thermal camera,
            Photron Fastcam SA-X2, digital transformation
            measurement during forming by means of GOM-
            ARAMIS.

                                                                                                61

